notes:
if you have oil and water contamination you will need to disasemble the block as well, then it is no longer a "quickie head gasket". that write up is coming as soon as it happens to me.
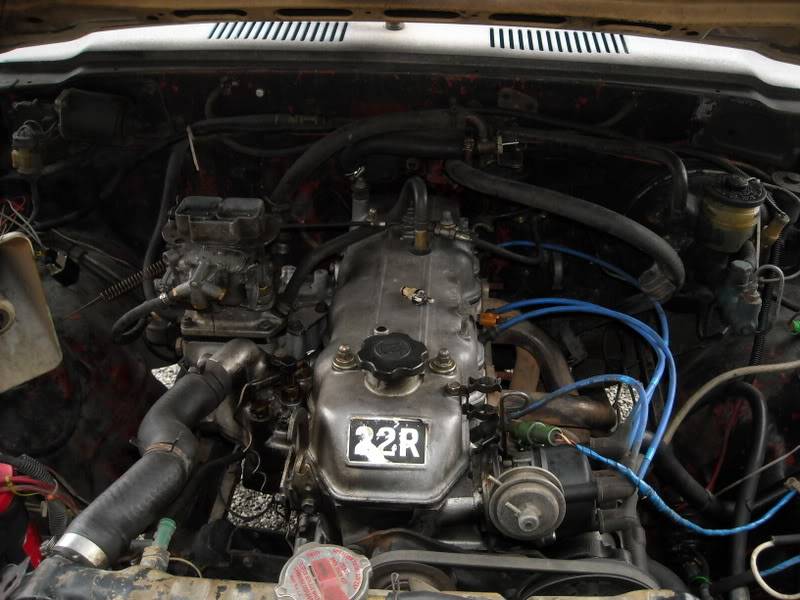
this is for a stripped down carb'd 22r. efi will be much more involved as will a OEM carb setup.
prolly take 6hrs your first time if youre familiar with what your doing
DO NOT DO THIS ON A WARM ENGINE!supply's needed:head/intake/exhaust gaskets (assuming valve cover gasket is still good)
oil change stuff + at least 2 extra quarts
clean rags or paper towels
RTV
6-pack of cheap beer
tools needed:metric socket and wrench set from 10-19
torque wrench
mid size flat head screw driver
feeler gauge
metal gasket scraper
plastic gasket scraper
high speed wire wheel type thing
carb clean (yes its a tool)
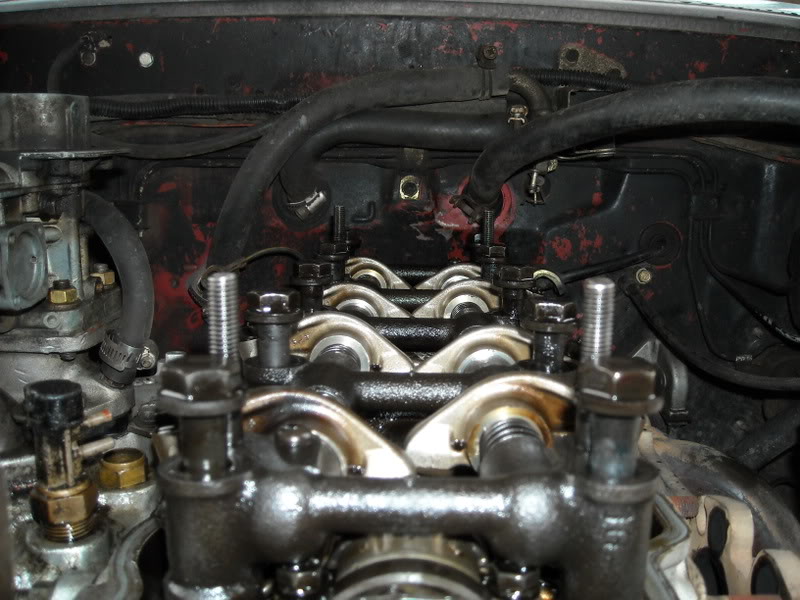
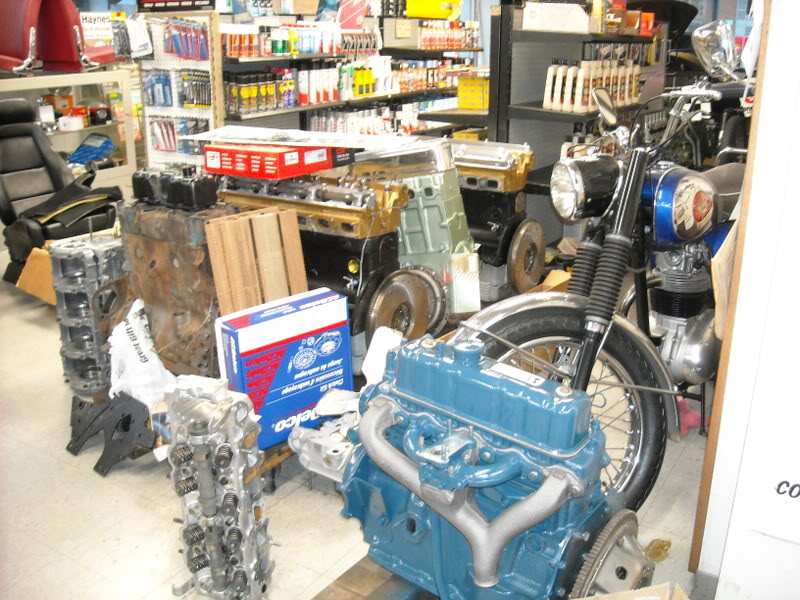
here it is as i start
now you remove the head bolts following this procedure
1st step:
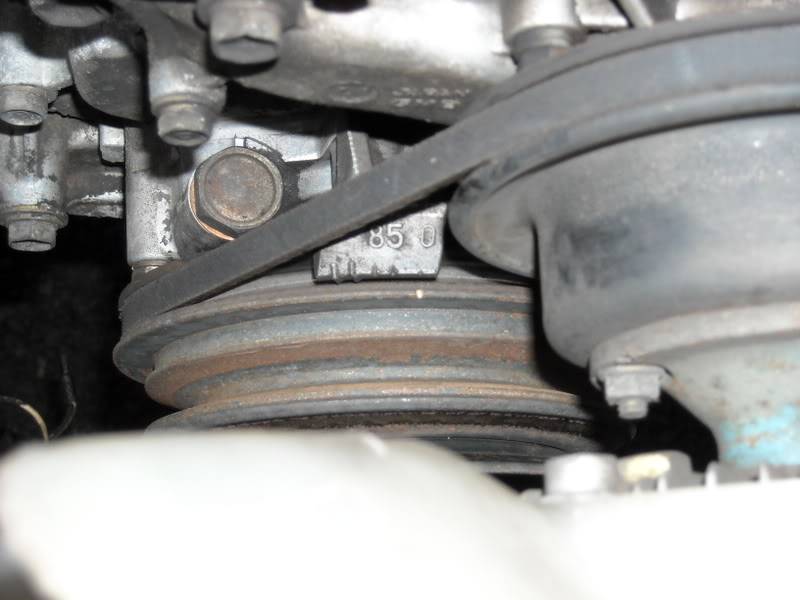
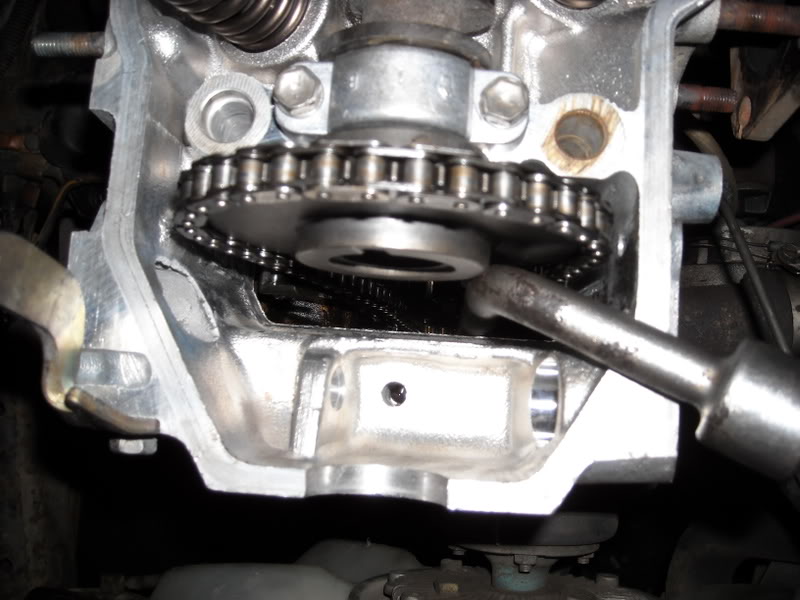
find TDC.
remove the distributor cap and valve cover. crank the motor over by hand clockwise until the timing mark on the main pulley is here.
verify that you are at TDC by checking that the dizzy rotor is @ #1

and the
dowel pin on the cam is @ 12:00
now if you havent done it yet make sure this list is complete:
disconnect:
all ground wires from head
all radiator hoses to intake and fluid drained
exhaust
fuel line
random wires (temp/sensors/ect)
throttle cable
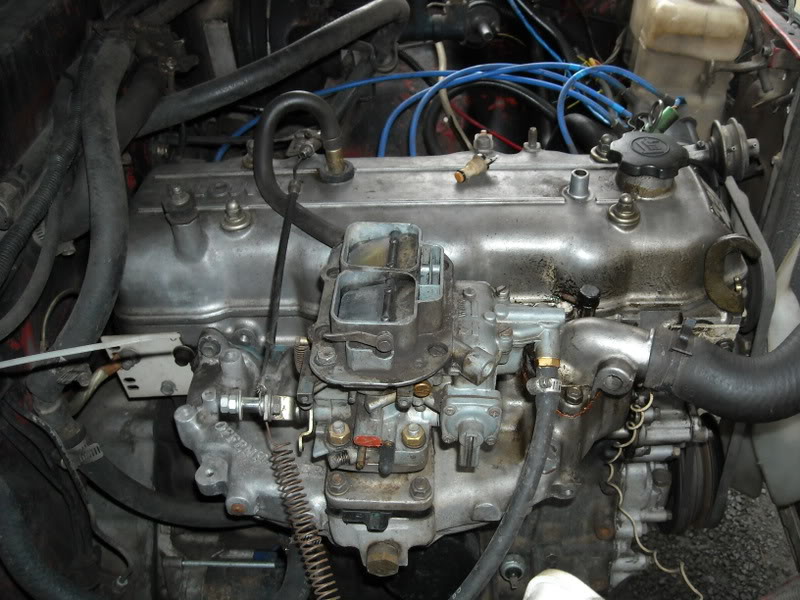
remove PS pump from head
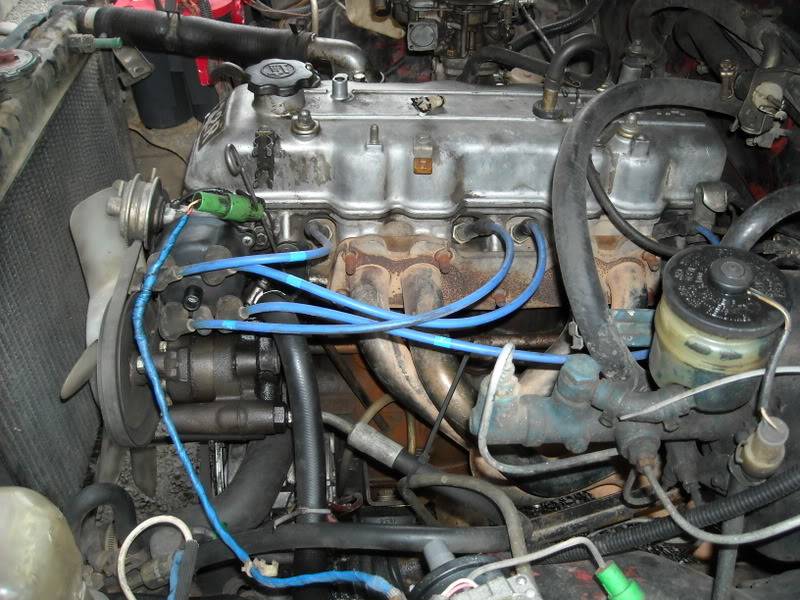
vac lines (note: i only have 1 line for the brake booster/valve cover)
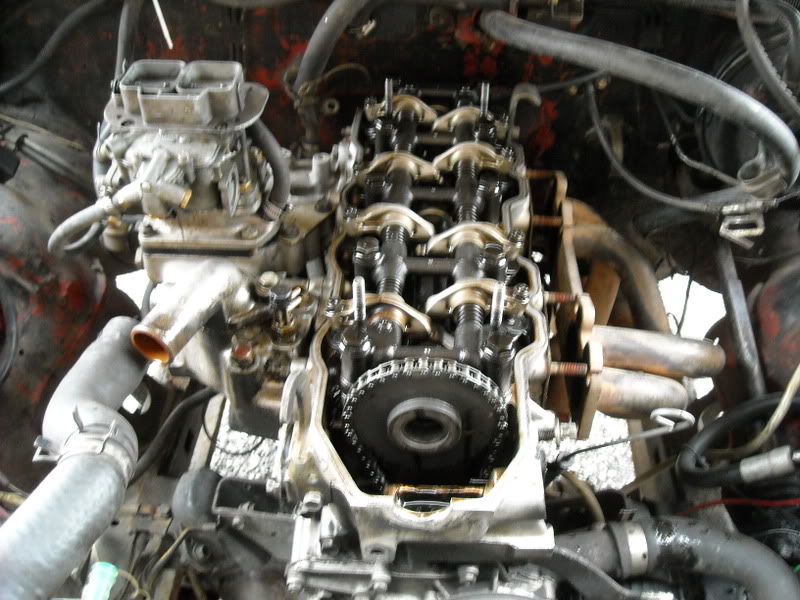
now start to remove the head itself
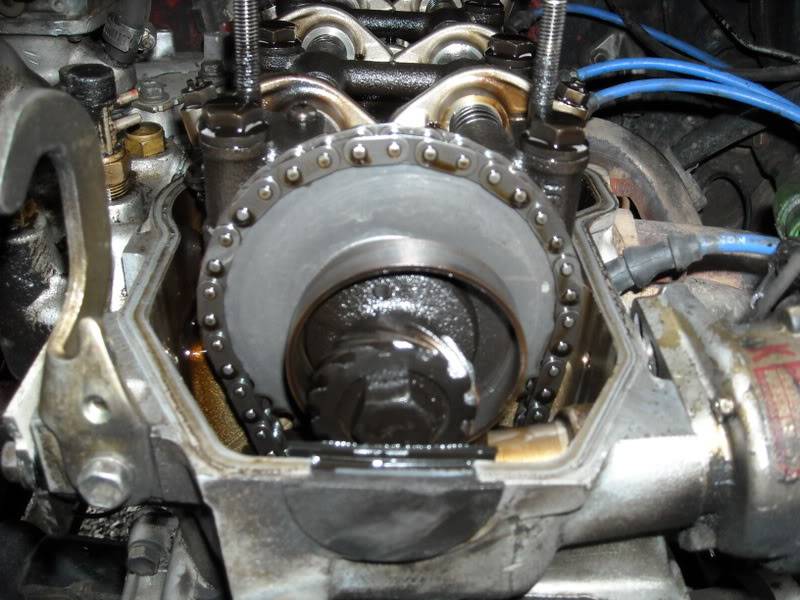
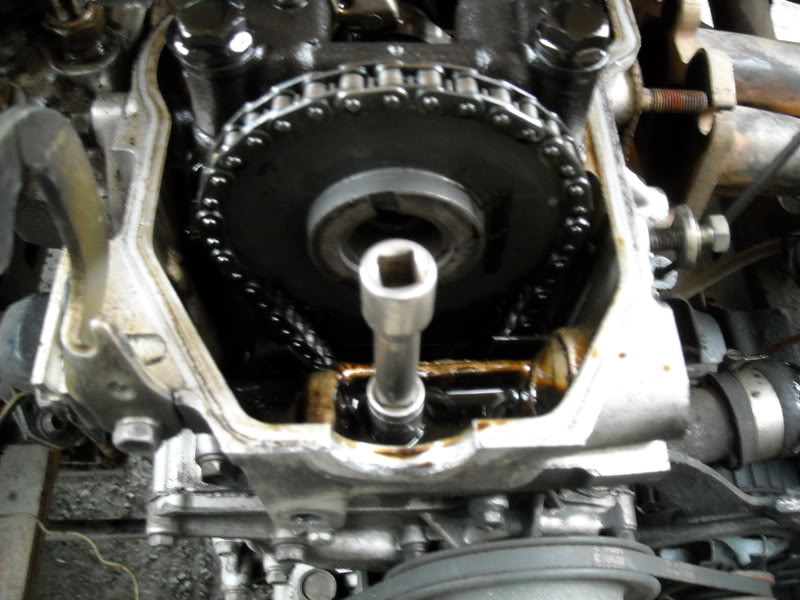
1st remove the dizzy gear to be able to get the cam timing chain gear off. use a lil carb clean on a rag and clean a bit of the chain and gear, then mark it with a sharpie to help later. when you take it off hold the pass side tight and roll it down till it binds in the guides.
dont forget about the 12mm bolt that connects the head to the timing cover, there should be a washer on that bolt. it might be under the puddle of oil
with the head bolts, follow this order in 3 stages. crack loose(1/16th turn), loosen a bit more(1/4 turn), completely remove bolts. or you will warp the head.
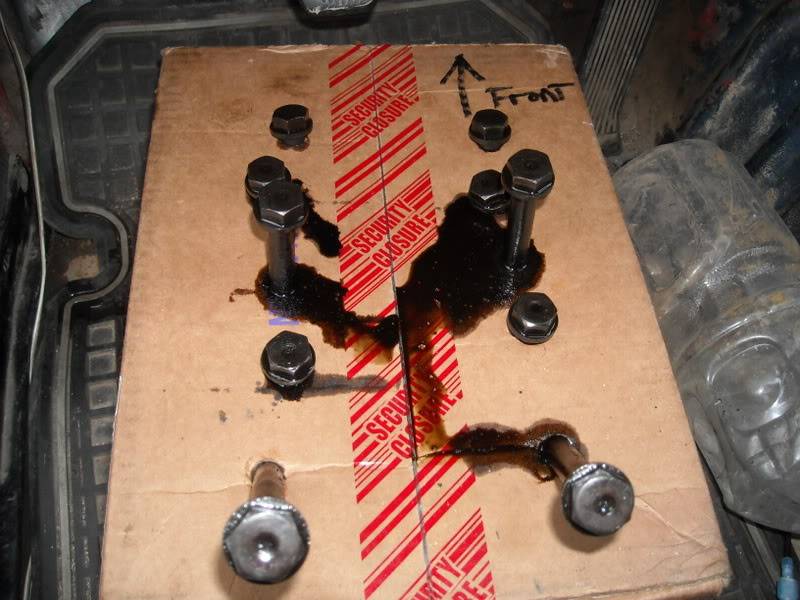
now that you have all the head bolts loose you can remove them,
use a card board box to hold them. make holes so you can keep them in order and easily tell which ones go where.
now tug on the head, if it doesnt come off DONT:
hit with hammer
randomly pry with a screw driver
kick it
ect.
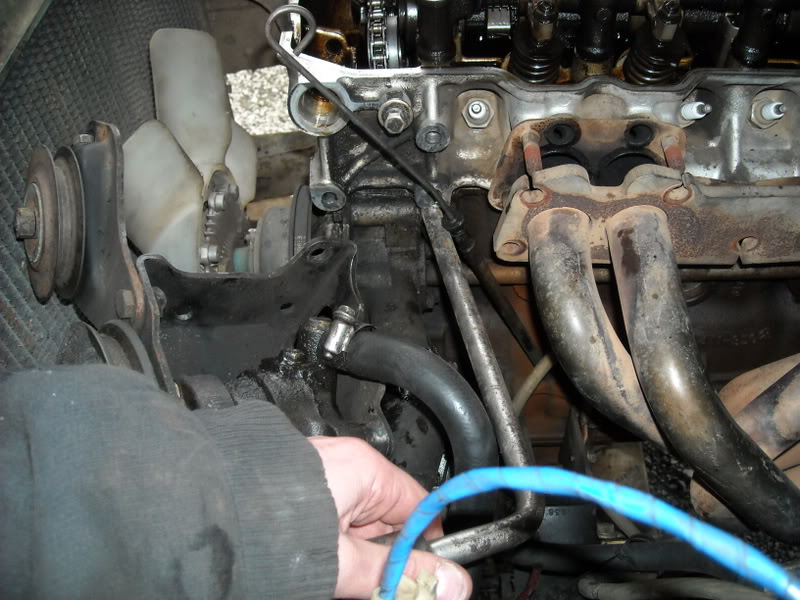
use your handy dandy tire iron and place it here and give a gentil twist. it will pop right off.
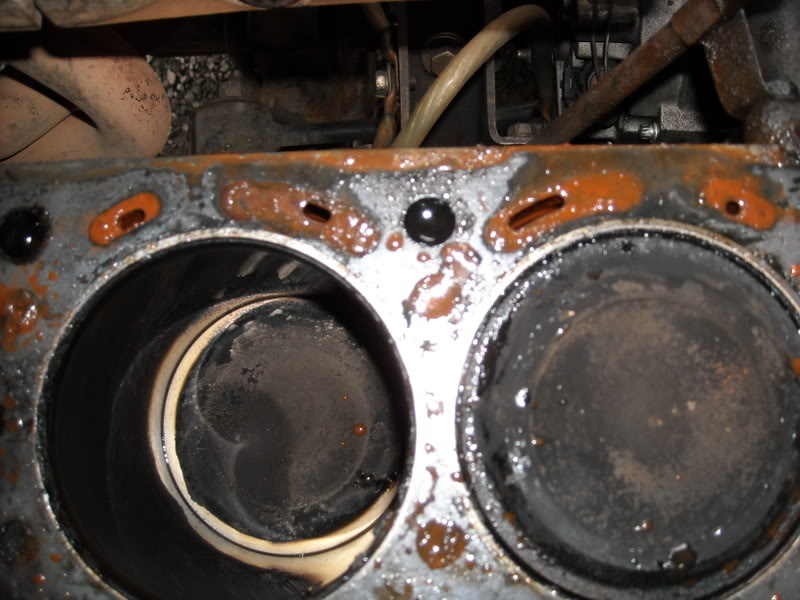
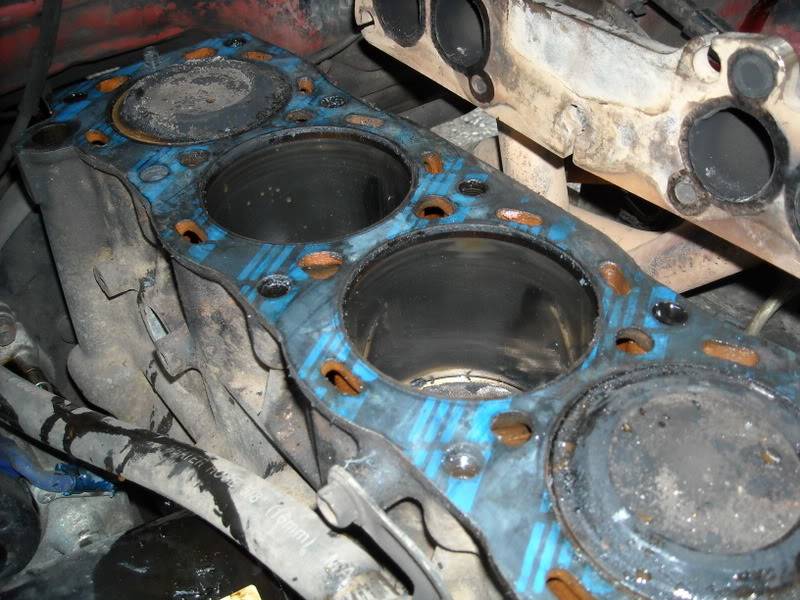
my BHG was on the #1 n #2 water jacket on the exhaust side
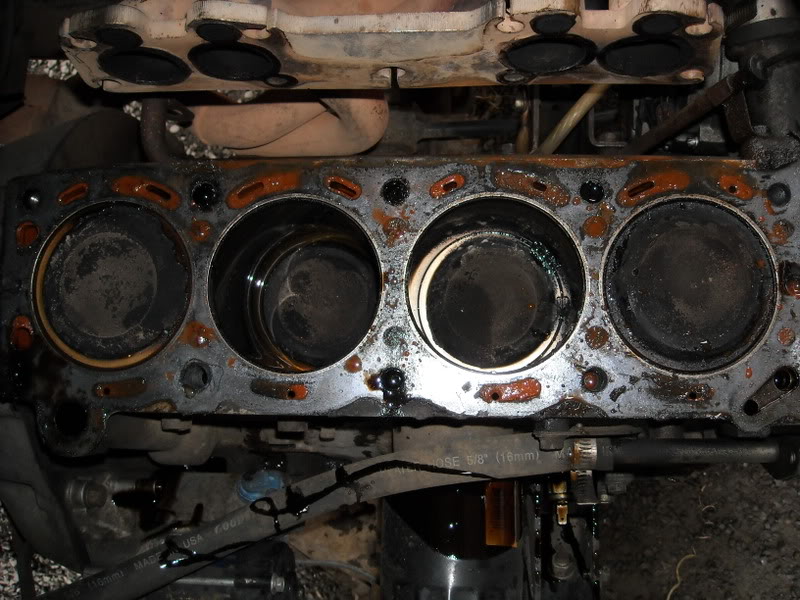
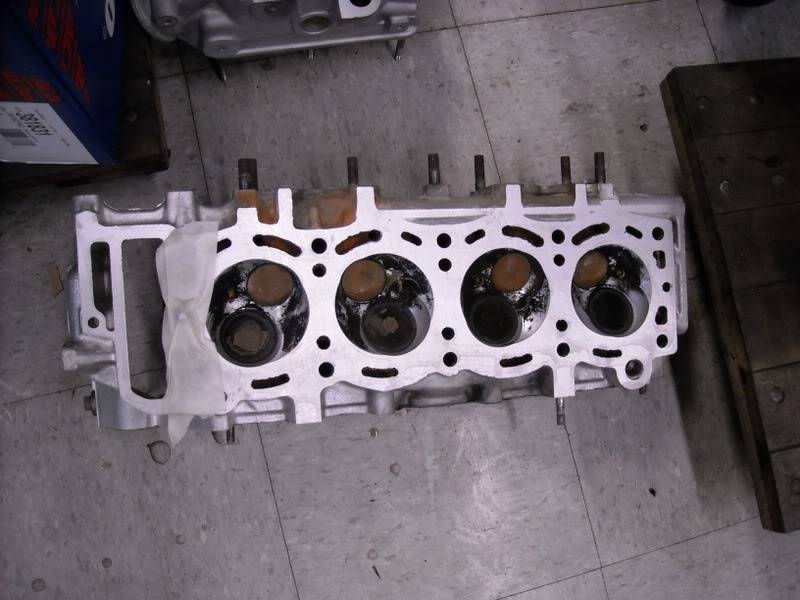
gasket is upside down so #1 is on the far right, exhaust side on bottom of pic
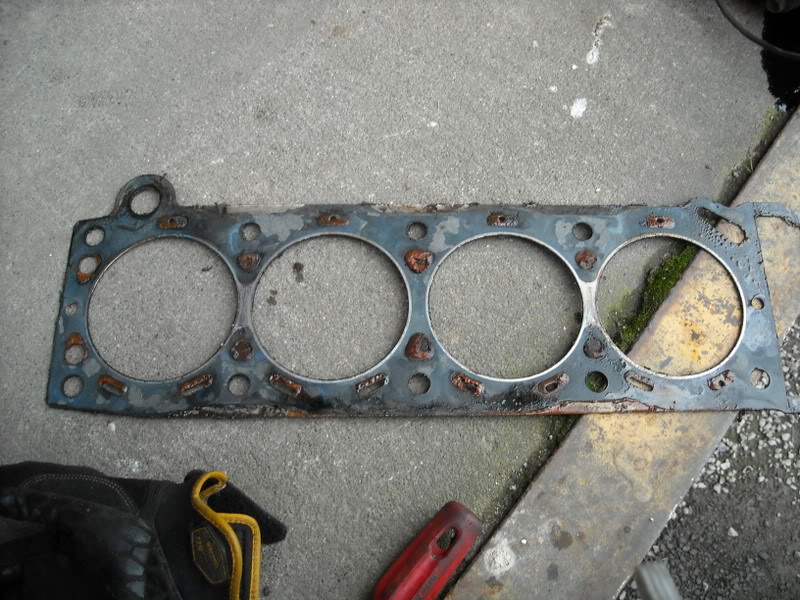
you can really see it in this pic, looks like #3 n 4 were gonna go soon.
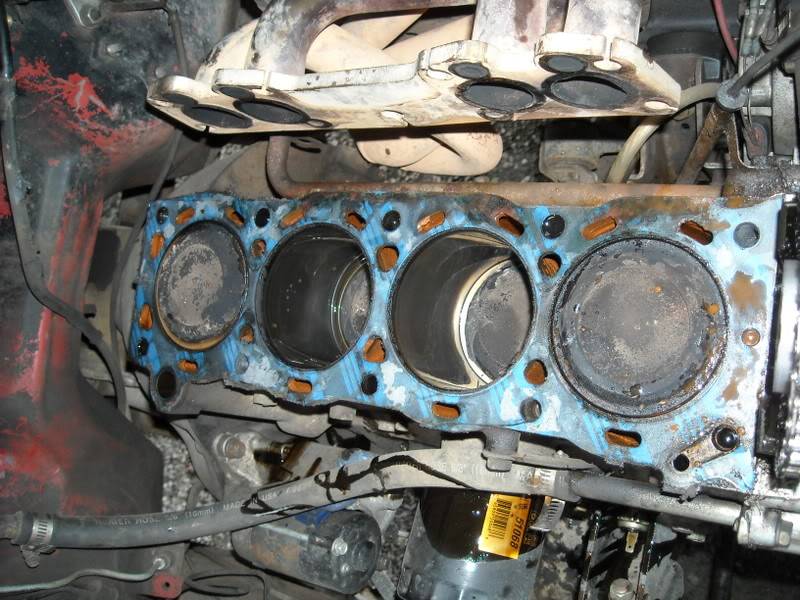
now take a wide metal scraper and go to work on the block. make sure to get every lil bit of gasket off the surface. the blue stripes are just staining from the previous gasket. i found even older gasket material under the newer gasket which prolly led to the blow out. let this be a lesson,
get every last bit off.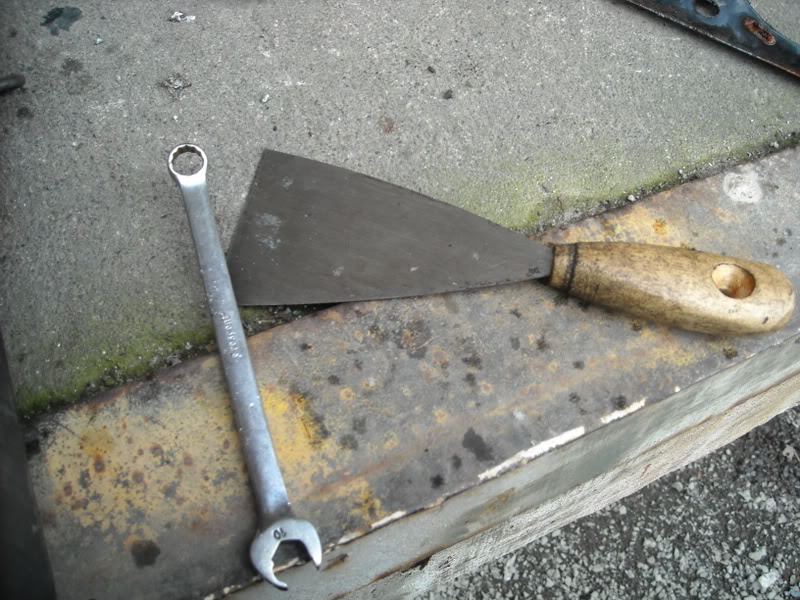
surface is clean of gasket. use a shop vac or compressed air to get any bits that fell into the cylinders out.
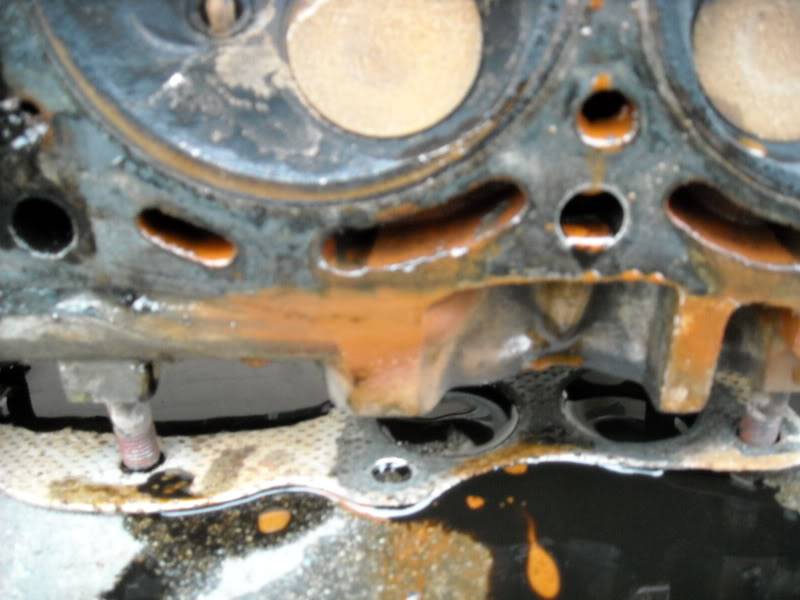
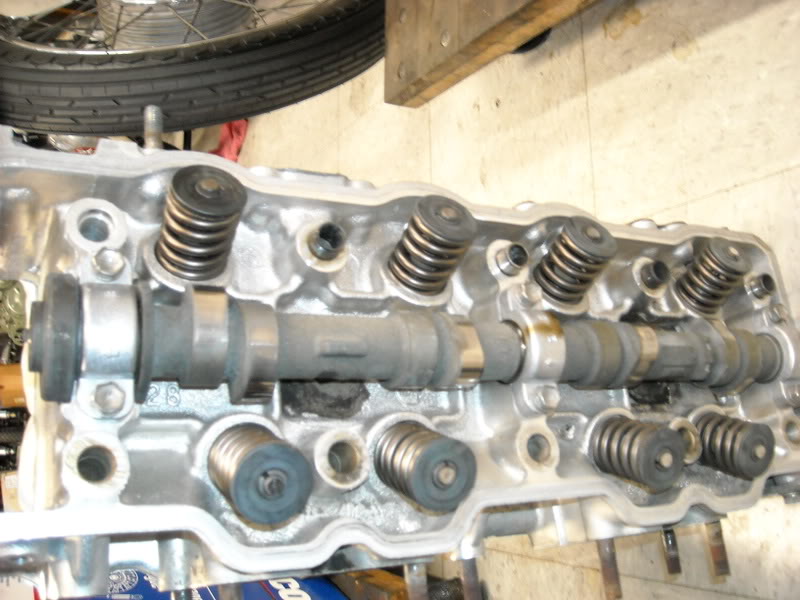
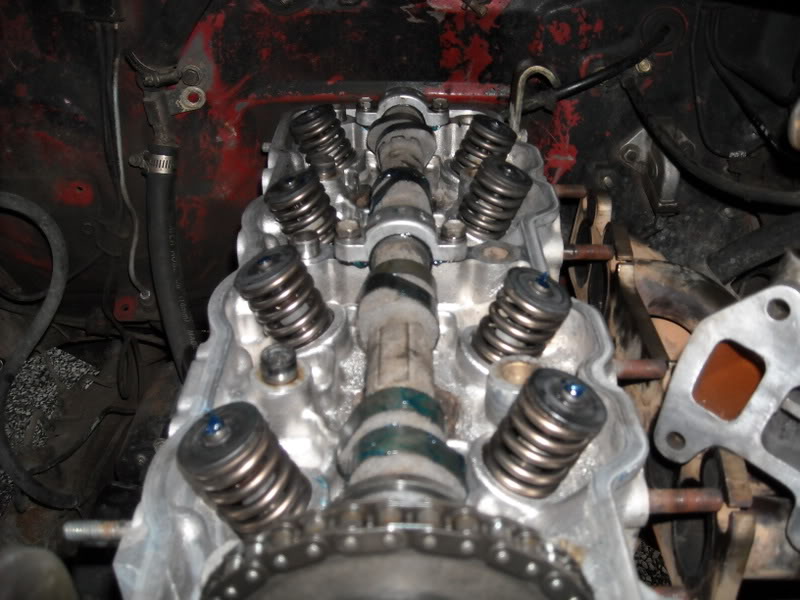
heres the head perspective

yep, theres the problem
now to clean the head, use a
plastic scraper or a
very soft brass wire wheel on a super high speed drill and use very lil pressure. you dont want to remove aluminum off the head. that will create further problems.
well ive run into a problem...
there was some pitting on the head where the gasket blew. and the machine shop isnt open on sunday.
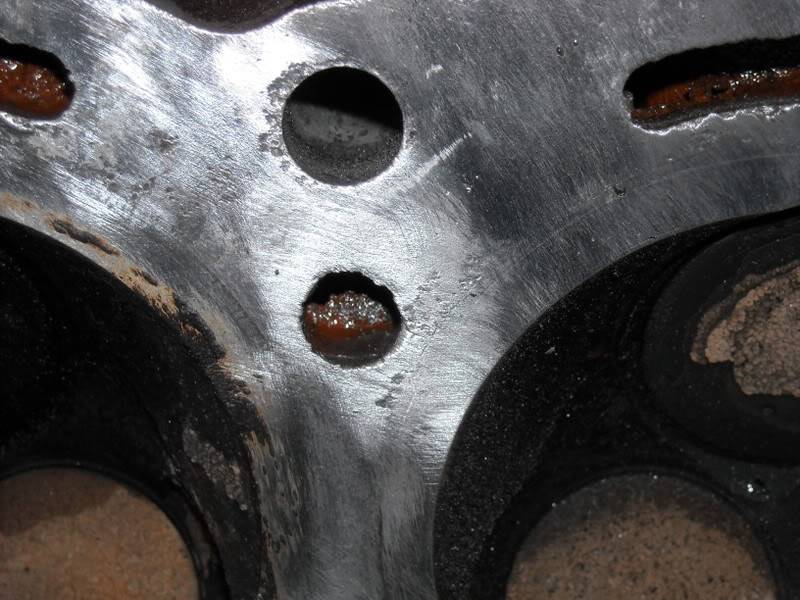
here is the pitting that im worried about
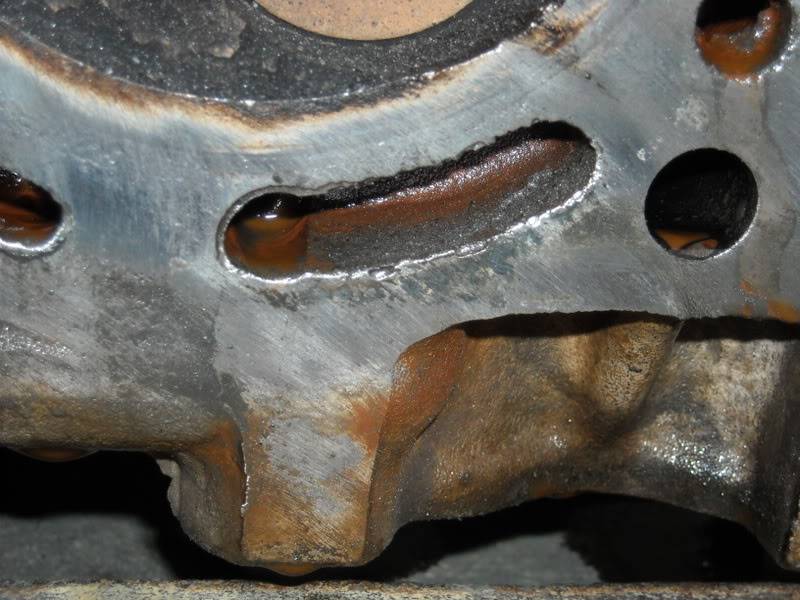
some pitting in other various area's as well.
the machine shop had to take 9 passes or .009 off the head to get it to clean up. turns out it was worse in parts i hadnt cleaned yet.
they also said that it was a good thing i did, or i would of blown the next gasket at mostly the same spot.
here it is ready for me after 3hrs at the machine shop
in case you cant see it heres a close up
so clean :lick:
while this is happening, its a good time to clean the threads on every thing you took off. may seem like a waste of time, but it prevents cross threading and allows you to properly torque bolts, plus you will be amazed at being able to finger tighten stuff.
im gonna assume this stuff is done:
all bolt n hole threads are clean
all gasket surfaces clean
new gaskets in hand
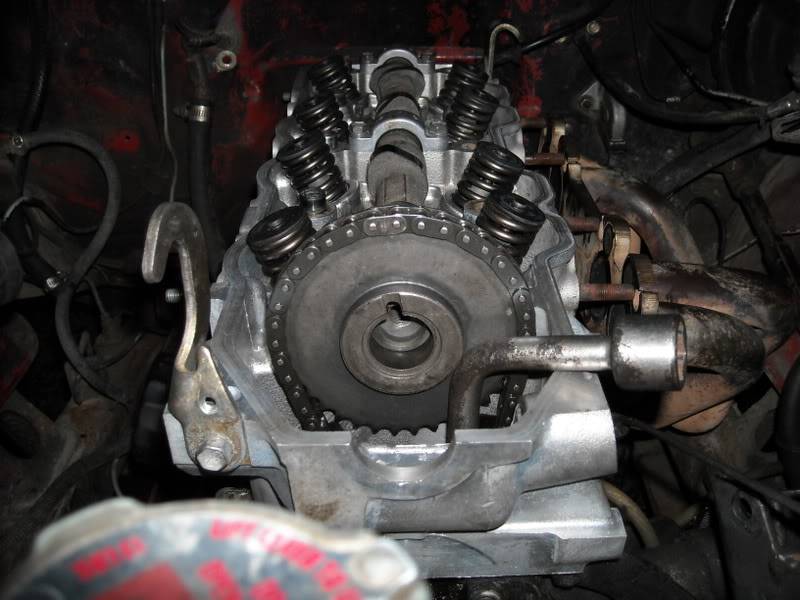
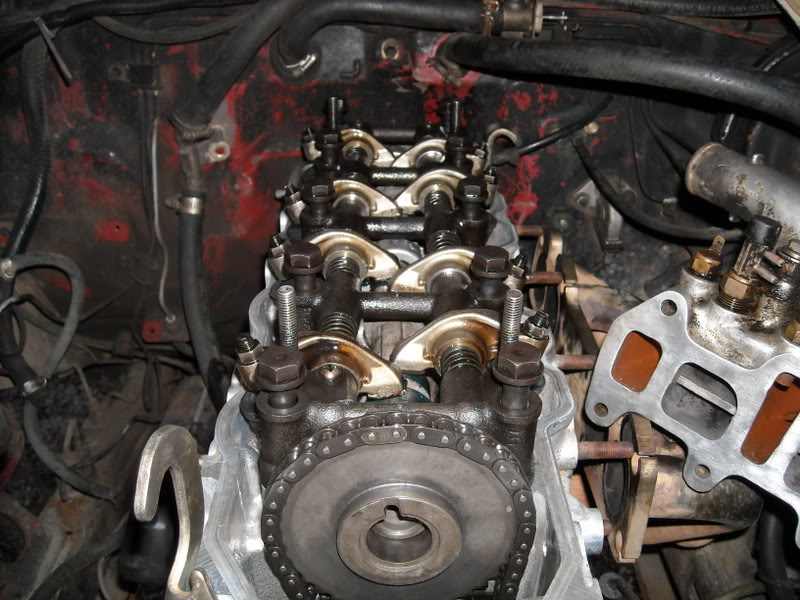
final bit of prep is to loosen all the rocker valve adjustment nuts and move the striker up till its flush with the rocker arm. left is done right isnt. this is to prevent bending while you torque the head down. a valve adjustment is needed anyway.

lay the head gasket down on the block using the dowel pins to line it up. now carefully set the head on. put the back on first and guide the front over the timing chain.
if you had your head hot tankedyou need to remove the bearing caps and apply a bit of grease to all the contact surfaces. including the contact patch on the valves and rockers, my machine shop says its ok to use bearing grease.
get your handy dandy tire iron again, you'll use it this time to compress the chain tensioner under the timing cover. with your hand around it (1in off head) move to the drivers side to compress it. you will feel it move, be extra careful not to push the single chains past the guide. dual chains would be a lot harder to push past the guide.
now put all the head bolts in there respective holes. once they are all in finger tighten in the order below. then lightly hand tight with a wrench till they seat (5lbs). then torque to 25-30, then to 60lbs. always repeating the same order.
now you actually have a engine in there congradulations.
lets put all the crap back on.
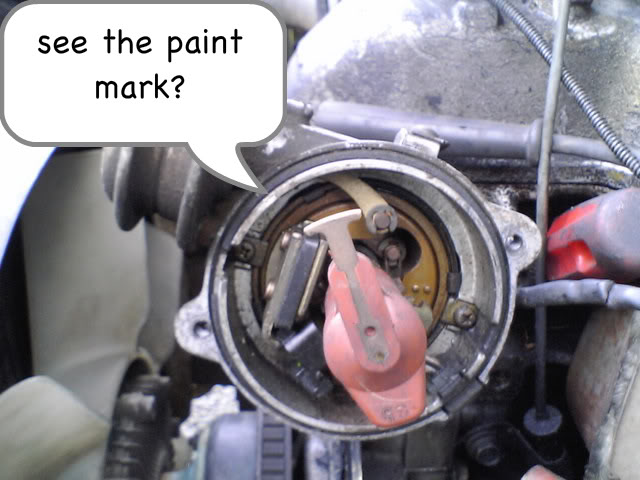
first its the dizzy gear and dizzy. align the rotor to roughly 12:00 then slide it in. as it slides in, it will rotate counter clockwise and end up at #1 on the cap. some dizzy's have a paint mark. if it doesnt line up then pull it back out and rotate 1 tooth the direction thats needed. then gently put the dizzy gear in and torque it down.
after that its really not rocket science so heres a list:
intake
exhaust
plug wires n cap
other wires as needed
throttle linkage
hoses
hold off on the valve cover for a sec, good idea to lay it on there for install of the other crap, ta help keep things clean.
last but not least its time for a valve adjusment. this is kinda a pita but absolutely necessary.
factory specs, search the interweb if you want to read people argue about different gaps, im not qualified enuff yet to tell you a different way.
intake: .008
exhaust:.012
use this order
1st
2nd turn the crank 360 and do this order
now take those extra 2 quarts of oil and drill a super tiny hole in one cap. put the cap back on and squeeze the bottle for high pressure oil. use this to spray out the oil passages of any gasket that may have fallen in. go ahead and use 2 quarts to be really sure its clean.
now drain the oil, and do a oil change. pour the oil over the whole valve train slowly without the valve cover on. keep in mind that the head will hold almost a quart in the valleys so only put in 3.5 quarts. then start wait for pressure, check and fill if needed
install the valve cover and fill the radiator.
start the eng
burp the radiator and check for leaks. allow to warm up then shut off. check/adjust the valves again. allow the motor to cool for at least 2hrs+. then recheck the head bolt torque.
now go buy another 6-pack of good beer to celebrate
editors note:
i have
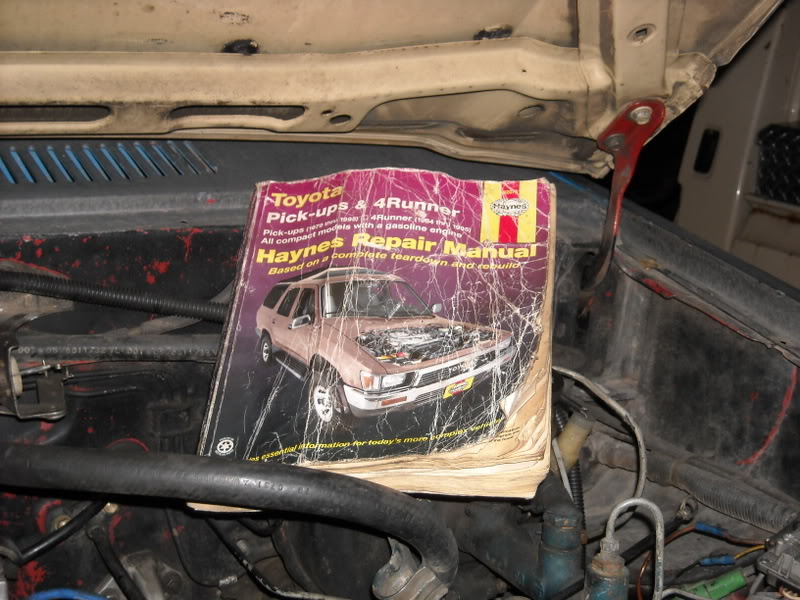
never done this before. i have spent countless hours reasearching and reading and asking questions before i did this. so i might be a bit more prepared then some. i only used a manual during the procedure for the head bolt order torque specs, and valve adjustment. i used this manual and most any manual with a 2xr will work.
this write up was done in the dark next to train tracks with occasional snow flury's

brought to you by mickeys
and


 2/17/2009, 7:44 am
![]2eDeYe](https://2img.net/u/1711/27/25/14/avatars/2-70.jpg)